Introduction
Most software doesn't fail under normal conditions. It fails when a user does something unusual, like pasting a 10,000-character string into a name field, uploading a 0-byte file, or hitting submit at the exact moment their session expires. These are edge cases, inputs and conditions at the extreme boundaries of what your application is built to handle.
Teams tend to test the happy path thoroughly and treat edge cases as an afterthought. That's backwards. Production incidents rarely come from the flows you tested a hundred times. They come from the scenarios nobody thought to write a test for. A single unhandled edge case can crash a checkout flow, corrupt data, or open a security hole.
This guide covers what edge cases actually are, how to identify them systematically, and how to build edge case testing into your QA process without slowing releases down.
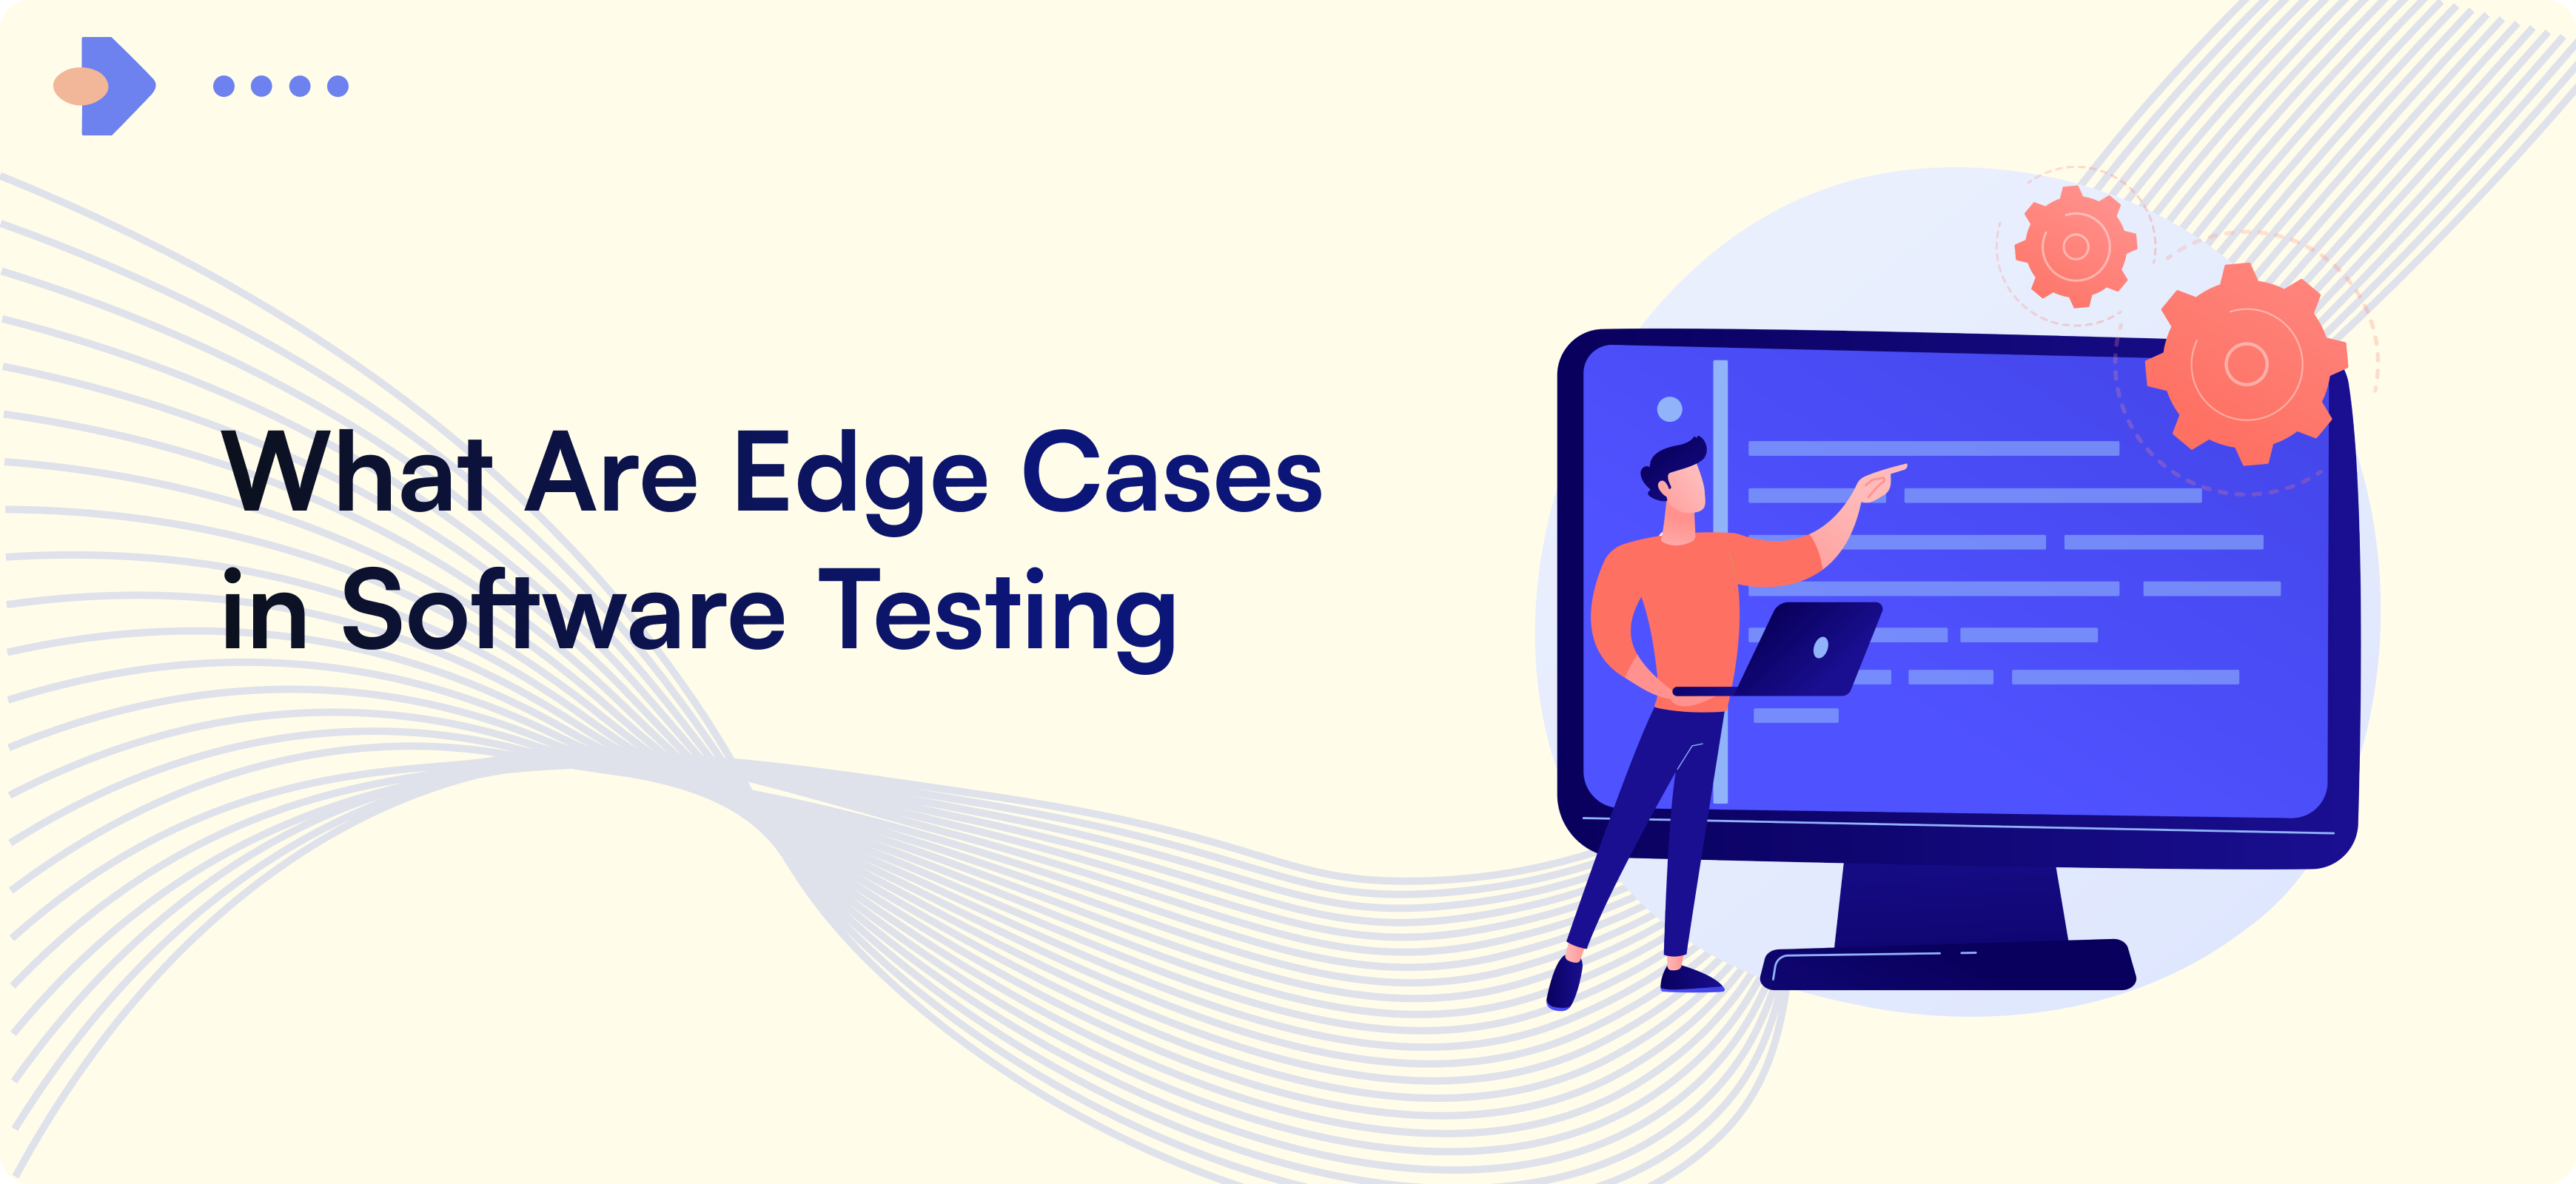
What Are Edge Cases?
An edge case is a scenario that occurs at the extreme end of an application's operating parameters: the maximum, the minimum, the empty, the unexpected. It's what happens when an input or condition sits right at the boundary of what the system was designed to handle, or just past it.
Think of a form field that accepts 1 to 100 characters. Testing it with "John" is testing a happy path. Testing it with 1 character, 100 characters, 101 characters, an empty string, and a string of emojis tells you where it breaks. These are edge cases, where assumptions get exposed.
Edge cases aren't limited to inputs. They show up in timing (two users editing the same record simultaneously), environment (a device running out of storage mid-save), state (a user navigating back after a payment succeeds), and scale (a report that works for 50 rows but times out at 50,000).
Why do edge cases matter? Because they're statistically rare per user but inevitable in aggregate. If a scenario has a 0.1% chance of occurring, it will happen thousands of times a day in an app with a million sessions. What feels like a fringe scenario in a test plan is a typical Tuesday in production. Software quality isn't really measured by how well an app performs under ideal conditions. It's measured by how gracefully it handles the conditions nobody planned for.
Common Types of Edge Cases in Software Testing
Edge cases fall into a few recognizable categories. Knowing them turns edge case discovery from guesswork into a checklist you can run against any feature.
Input Validation Edge Cases
In input validation edge cases, extreme values sit at the top of the list: zero, negative numbers, and whatever your maximum limit is, plus one past it. A quantity field that accepts -3 or a price field that overflows at large numbers is an input validation failure waiting for a user to find it. Special characters cause a quieter class of bugs. An apostrophe in "O'Brien" has broken more databases than most attack vectors, and Unicode and emoji still trip up systems that assume plain ASCII.
Then there's the absence of input, empty fields, nulls, and undefined states, which are three different things and often handled by three different (or zero) code paths. Round it out with data type mismatches (letters in a number field, malformed JSON in an API call) and oversized inputs that blow past field limits, like a 5MB string pasted into a bio box.
Workflow and State Transition Edge Cases
Workflow and state transition edge cases are harder to catch because they involve sequence, not just data. What happens when a process gets interrupted halfway, the user closes the tab mid-upload, or the app crashes between payment and confirmation? What happens when someone hits the browser back button after checkout and resubmits an order?
Session timeouts during critical operations are a reliable source of production tickets: a user spends twenty minutes filling out a form, submits, and lands on a login page with their work gone. Add to that state transitions that shouldn't be possible (cancelling an already-shipped order) and concurrent operations on shared resources, like two admins editing the same record and silently overwriting each other.
Environmental and System Edge Cases
Your app doesn't run in a vacuum. Networks drop mid-request, connections time out, and mobile users move through tunnels. Devices run low on memory and storage at the worst possible moment, and each OS and browser has its own quirks around what happens next.
Dates and time zones deserve special mention because they burn every team eventually: leap years, daylight saving transitions where an hour repeats or vanishes, and users whose local time is a day ahead of your server. And since modern apps lean on third-party services, every external API is an edge case generator: what does your app do when the payment provider returns a 500 or takes 30 seconds to respond?
User Behavior Edge Cases
Users will always find paths you didn't design. The most common is speed: double-clicks on a submit button, rapid-fire actions that queue up duplicate requests. Some patterns are unusual but perfectly valid, such as filling a form bottom to top or keeping the same page open in six tabs.
Accessibility belongs here too. Screen readers and keyboard-only navigation surface edge cases that mouse-based testing never will. Multi-user conflicts and race conditions show up as soon as real teams use your product concurrently. And localization brings its own set: right-to-left languages breaking layouts, name formats that don't fit "first/last," and character sets your validation rules never anticipated.
Proven Techniques for Identifying Edge Cases
You don't find edge cases by staring at a feature and brainstorming. The teams that catch them consistently use structured techniques that turn discovery into a repeatable process.
1. Boundary Value Analysis (BVA)
BVA is the workhorse of edge case identification. The logic is simple: bugs cluster at boundaries, so that's where you test.
Say a field accepts values from 1 to 100. In 2-value BVA, you test each boundary and the value just outside it: 0, 1, 100, and 101. Four tests, and you've covered the most likely failure points. 3-value BVA goes a step further, testing each boundary plus the values on both sides (0, 1, 2 and 99, 100, 101), which catches off-by-one errors that 2-value analysis can miss.
Robust BVA extends this to invalid inputs beyond the boundaries: large negative numbers, values wildly over the maximum, wrong data types. This checks not just whether the system accepts valid values, but whether it fails gracefully when it shouldn't accept something.
Putting it into practice is straightforward: identify every input with a defined range (field lengths, numeric limits, date ranges, file sizes), list the boundaries for each, then generate test values at, just inside, and just outside each boundary. For a password field requiring 8–64 characters, that's tests at 7, 8, 9, 63, 64, and 65 characters, six tests that will catch most length-handling bugs.
2. Equivalence Partitioning for Edge Case Discovery
Equivalence partitioning attacks the problem from the opposite direction. Instead of finding more tests, it finds the minimum tests that still cover everything.
The idea is to divide all possible inputs into groups that the system should treat identically. For an age field accepting 18–65, you have three partitions: below 18 (invalid), 18–65 (valid), and above 65 (invalid). If the system handles 30 correctly, it almost certainly handles 45 correctly too. They're in the same partition, so one representative value per group is enough.
The real power comes from combining it with BVA. Partitioning tells you which groups to test. Boundary analysis tells you which values within each group are most likely to fail. Together, they give you a compact test suite with high defect-finding density. You might cut 200 candidate test cases down to 15 without losing meaningful coverage. That efficiency matters when edge case testing has to fit inside real release timelines.
3. Fuzz Testing: Random and Unexpected Input Generation
BVA and partitioning find the edge cases you can reason about. Fuzzing finds the ones you can't. A fuzzer throws large volumes of random, malformed, or unexpected data at your application- corrupted files, garbage strings, truncated requests- and watches for crashes, hangs, and unhandled exceptions. It's how you discover the input nobody on the team would ever have thought to type.
A few complementary techniques round out the discovery toolkit. State transition mapping means diagramming every state your application can be in and every path between them. The edge cases live in the transitions that shouldn't exist but aren't blocked, like a refund on an order that was never paid. Assumption testing is exactly what it sounds like: list what the code implicitly assumes ("users have one email," "the API responds within 5 seconds," "files have extensions") and write a test that violates each one. And because no team can test every edge case, risk-based prioritization keeps the effort focused: rank scenarios by likelihood and impact, and spend your testing budget where a failure would hurt most: payments, auth, data integrity.
Identify and Run Edge Cases With TestFiesta Seamlessly
The hardest part of edge case testing isn't finding edge cases. It's keeping track of them. They get discovered in a Slack thread, tested once before a release, and forgotten until the same bug resurfaces six months later. That's a management problem, and it's the one TestFiesta is built to solve.
With TestFiesta, edge cases live where the rest of your testing lives. Instead of scattering boundary tests across spreadsheets and tribal knowledge, you document them as structured test cases, grouped by feature, tagged by type, and reusable across releases. Write your BVA suite for a checkout flow once, and it runs in every regression cycle after, not just the sprint someone remembered.
A few things that make edge case coverage stick:
Reusable test case libraries. Build edge case checklists, input validation, state transitions, environmental failures, as templates you apply to every new feature, so coverage doesn't depend on who's writing the test plan that week.
Traceability from incident to test: When an edge case slips into production, close the loop: log it, link it to a permanent test case, and make sure it can never ship unchecked again. Your edge case suite grows from real failures, which are the highest-signal tests you can own.
Prioritized test runs: Not every edge case belongs in every cycle. Organize runs for high-risk scenarios, payments, auth, and data integrity. Execute on every release, while lower-impact edges rotate through scheduled deep passes.
Visibility across the team: Dashboards and reports show exactly which edge cases were run, which passed, and where the gaps are, so "did anyone test the timeout case?" has an answer that isn't a shrug.
Frequently Asked Questions
What's the difference between edge cases and negative testing?
Edge cases test boundary conditions and many times includes with valid inputs. A 100-character name in a field that allows 100 characters should work. Negative testing is specifically about invalid inputs: verifying that the system rejects bad data gracefully. The two overlap at the boundary: testing 101 characters in that field is both.
How many edge cases should I test for each feature?
There's no fixed number for edge cases for each feature. It depends on the risk of an edge case occurring in that particular feature. Basic boundary value analysis (BVA) gives you 4–6 tests per bounded input. Features such as payments, auth, or data integrity deserve deeper coverage than a settings toggle.
Can edge case testing be fully automated?
No, edge case testing can only be partially automated, and platforms that offer “full automation” of edge cases aren’t being truthful. Boundary tests, partition checks, and fuzzing are mechanical ways of testing. You can automate them before every release. However, test automation can't discover edge cases born from human unpredictability, such as odd navigation, interrupted workflows, and assistive tech.
How do I convince stakeholders to invest in edge case testing?
You can highlight the financial benefit of investing in edge case testing. A bug caught in design is roughly 100x cheaper to fix than in production, and edge case bugs disproportionately hit power users, your most valuable accounts. For a quick win, pull your last three production incidents and count how many were edge cases a boundary test would have caught. That usually makes the argument for you.